Home » Automation » Surface Inspection
Surface Inspection
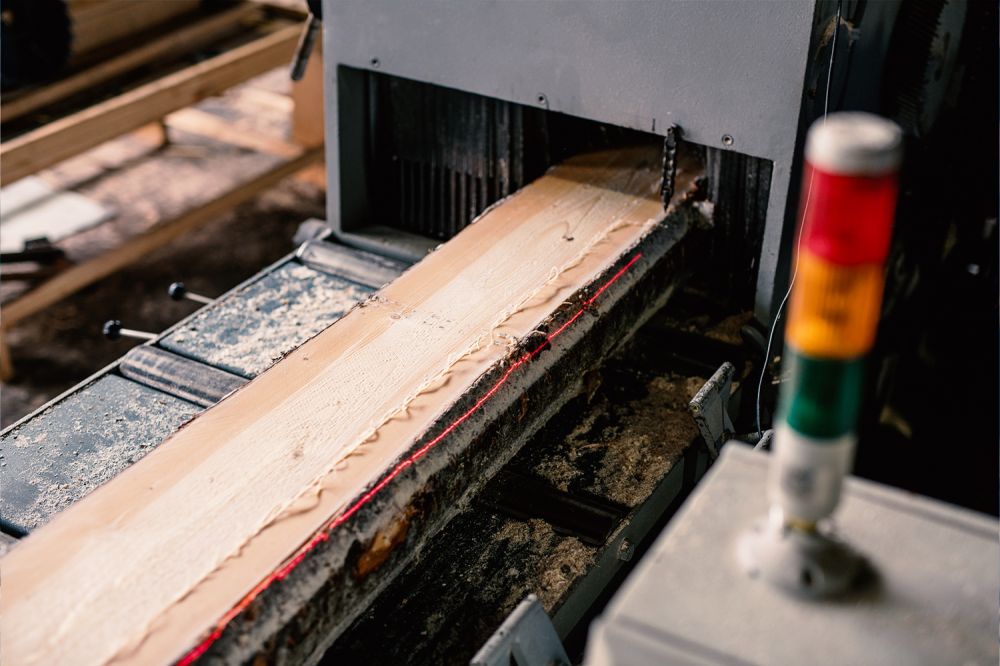
Ensure top quality with advanced 3D surface inspection. Detecting even the smallest defects, our 3D sensors guarantee every product meets the highest standards before reaching customers. Experience precision and reliability in quality control.

Enhancing Surface Inspection with 3D Sensors: Revolutionizing Quality Control
In today’s competitive manufacturing landscape, ensuring the highest quality of products is more critical than ever. One technology that has significantly improved the quality control process is the use of 3D sensors for surface inspection. These advanced sensors offer unparalleled precision and accuracy, enabling manufacturers to detect defects that traditional inspection methods might miss. In this article, we explore how 3D sensors are transforming surface inspection and what benefits they bring to various industries.
Benefits of 3D Surface Inspection
-
Enhanced Accuracy3D sensors provide a higher level of detail and accuracy compared to traditional methods. This precision is crucial for detecting minute defects that could affect product performance.
-
Non-Contact and Non-Destructive Inspection3D surface inspection is non-contact, meaning it does not damage or alter the part being inspected. This is particularly important for delicate or soft materials.
-
Increased Speed and EfficiencyModern 3D sensors can capture and analyze data quickly, significantly reducing inspection times and increasing throughput in manufacturing processes.
-
Versatility3D sensors can inspect a wide range of materials and surfaces, from metals and plastics to glass and ceramics. This versatility makes them suitable for various industries and applications.
-
Comprehensive Quality AssuranceThe detailed data provided by 3D sensors facilitates comprehensive quality assurance, ensuring that every product meets the highest quality standards before reaching the customer. This allows manufacturers to understand the nature and cause of defects better and implement corrective measures.
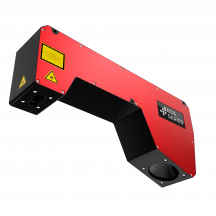
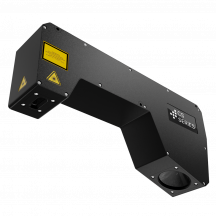
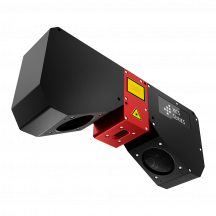
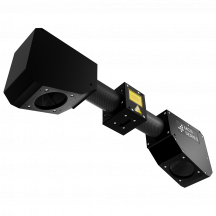
In summary, surface inspection is an indispensable process in modern manufacturing, crucial for identifying defects and ensuring product quality. The integration of our C6 3D sensor technology elevates this process, providing manufacturers with the tools needed to deliver flawless products to their customers, thereby enhancing satisfaction and trust.
Surface Inspection:
Who Needs It, When to Apply It, and Where It Works Best
Road Scanning
Applications with submillimeter resolution at 100 km/h
Our state-of-the-art 3D sensors revolutionize road scanning by enabling applications with submillimeter resolution at speeds of up to 100 km/h. These advanced sensors capture precise and detailed data about the road surface, allowing even the smallest irregularities and damages to be detected. This technology is ideal for road maintenance, as it allows for quick and accurate inspections that contribute to improved traffic safety and the long-term preservation of road infrastructure. With our 3D sensors, you rely on the highest precision and efficiency in road scanning.
3072
Points/Profile
140
kHz Profile Speed
What is Surface Inspection?
Surface inspection is a critical quality control process used to identify and assess surface defects on a wide range of materials and products. This process plays a pivotal role in ensuring that the final products meet stringent quality standards and perform as intended.
Surface inspection involves a meticulous examination to detect various types of irregularities or anomalies that could compromise the integrity and functionality of the product. These defects can include:
-
Cracks and FracturesSmall cracks or fractures on the surface can significantly weaken a product, leading to potential failures during use. Detecting these early helps in preventing future issues.
-
Potholes and DepressionsIrregularities such as potholes or depressions can affect the aesthetic and functional quality of a product, particularly in industries where precision is critical.
-
Poorly Worked EdgesEdges that have not been properly finished or worked can pose safety risks and affect the assembly and performance of the final product.
-
Foreign ObjectsThe presence of foreign objects on the surface can contaminate the product, leading to operational failures or health hazards, especially in industries like food and pharmaceuticals.
Surface inspection is not just about identifying these defects; it also involves assessing the severity and potential impact of these anomalies on the product’s overall performance and quality. This comprehensive analysis helps in making informed decisions regarding rework, repair, or rejection of defective items.
By integrating advanced 3D sensors into the surface inspection process, manufacturers can achieve unprecedented levels of precision and accuracy. Our 3D sensors use cutting-edge technology to create detailed 3D maps of the product surface, allowing for a thorough and non-invasive examination. These sensors can detect even the minutest defects and anomalies that might be missed by traditional inspection methods.
How Surface Inspection Works:
5 Simple Steps
Surface inspection is a meticulous process designed to ensure that all products meet the highest quality standards. Here’s how it works:
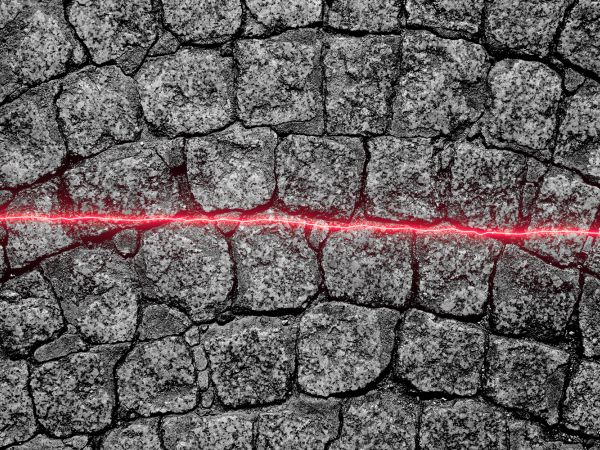
1. Scanning the Surface
Our advanced 3D sensors scan the surface of the product, capturing detailed data to create a comprehensive point cloud. This point cloud represents the three-dimensional shape and features of the surface with high precision.

2. Image Processing
The generated point cloud is processed using sophisticated image processing software. This software analyzes the data to detect any irregularities or anomalies on the surface.

3. Defect Identification
When an irregularity is detected, the software precisely identifies and marks it as a defect. This could include cracks, depressions, poorly worked edges, or foreign objects.
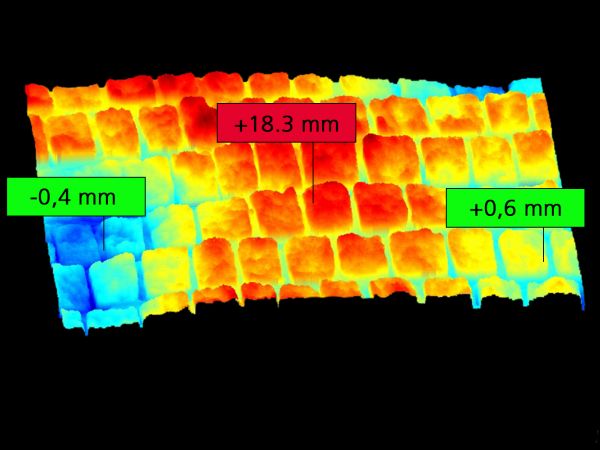
4. Data Reporting
Detailed reports are generated, documenting the identified defects and providing actionable insights. These reports support decision-making for quality control and process improvements.
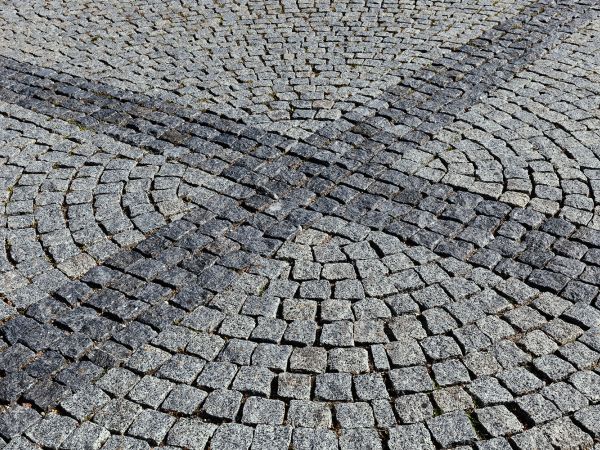
5. Quality Assurance
By accurately identifying and marking defects, the system ensures that only surfaces meeting the highest quality standards proceed to the next stage. Any defective products can be reworked, repaired, or rejected as necessary.
Through this comprehensive process, surface inspection with our C6 3D sensors guarantees that every product is thoroughly examined and meets stringent quality requirements before reaching customers.
3D sensors for industrial Surface Inspection
Get the most out of your production!
🇺🇸 North America
🇩🇪 Worldwide


