Non-Destructive Testing in Aviation with C-CheckIR
Non-destructive testing (NDT) plays a central role in aviation. It ensures the structural integrity of aircraft components over many years of operation and is therefore an essential part of maintenance, repair, and overhaul (MRO) processes.
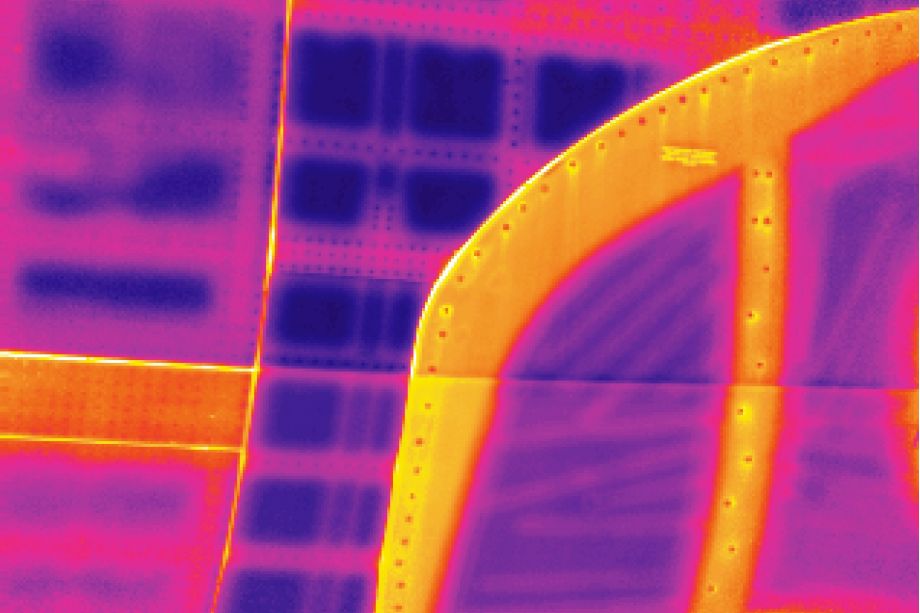
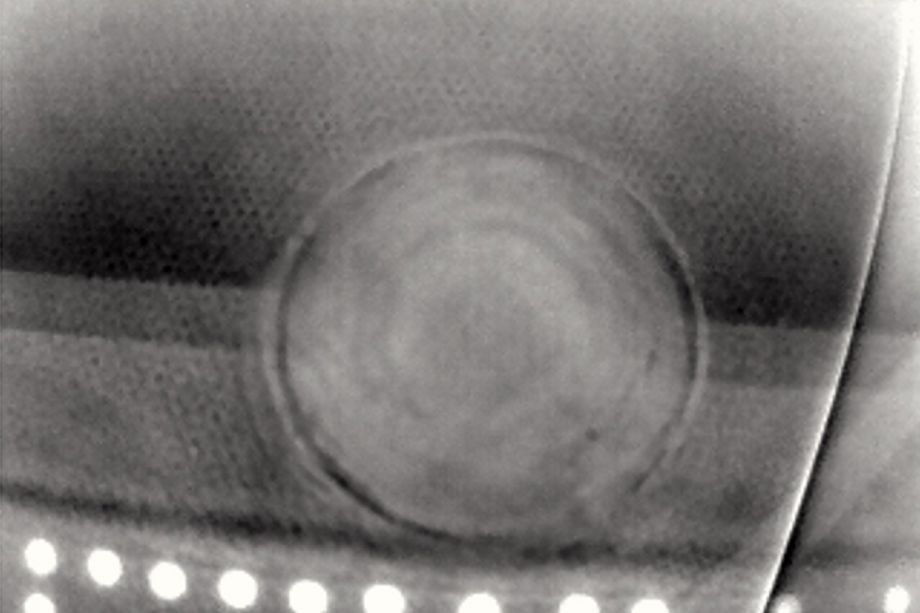
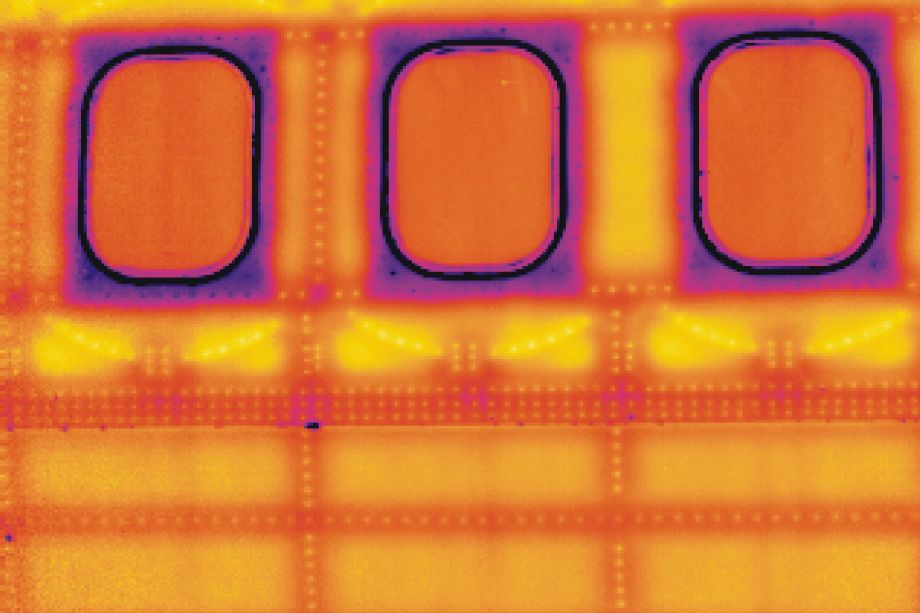
In addition to established testing methods such as ultrasound, eddy current, or X-ray, infrared thermography offers a fast and non-contact way to detect thermal anomalies. This allows surface-near defects, delaminations, and irregularities in adhesive bonds to be identified without dismantling the components.
Unlike 3D methods, thermography does not measure geometry, but rather records temperature distributions. AT Sensors deliberately separates these technologies and offers specialized infrared solutions for IR-based NDT testing that are designed to deliver reproducible, industry-standard results.
Challenge
The aviation industry has to meet the highest standards of precision, traceability, and efficiency. Testing fiber composite structures (CFRP/GFRP), honeycomb sandwich components, adhesive bonds, or engine seam components requires methods that reliably detect even the smallest defects, ideally without time-consuming disassembly.
Thermographic systems must offer high sensitivity (NETD), suitable frame rates for dynamic processes, and high resolution. Integration into automated MRO processes is also crucial: cameras must be able to be connected to test benches or mobile systems via interfaces such as GenICam/GigE Vision and ensure complete documentation.
Another challenge is the distinction from other NDT methods: While thermography works quickly, over a large area, and without contact, its penetration depth is limited. It is therefore often used as a pre-classification tool before volumetric testing methods such as ultrasound or X-ray follow.
Solution
With the uncooled infrared cameras of the IRSX series and the C-Check IR systems, AT Sensors offers a solution for thermographic quality assurance that has been specially developed for aviation.
The cameras detect the radiated heat signature of a surface and use it to generate precise temperature images. Passive thermography uses natural temperature differences that occur on the surface anyway, such as those caused by operation, friction, or solar radiation. Active thermography, on the other hand, specifically stimulates the surface, for example through light, heat, induction, or ultrasound. This enhances temperature contrasts and reveals even the smallest material defects or irregularities.
Thanks to their compact design, industry-standard interfaces, and high reproducibility, the systems can be easily integrated into automated test benches or mobile inspection vehicles. Software solutions support parameterization, emissivity correction, alarms, and data logging—for consistent documentation and traceability.
Compared to alternative NDT methods, IR-based solutions score points for their speed, area coverage, and ease of use. IRSX and C-Check IR thus precisely address the requirements of modern MRO processes: fast, reproducible, and documentable inspections with robust temperature data as the basis for informed maintenance decisions.


