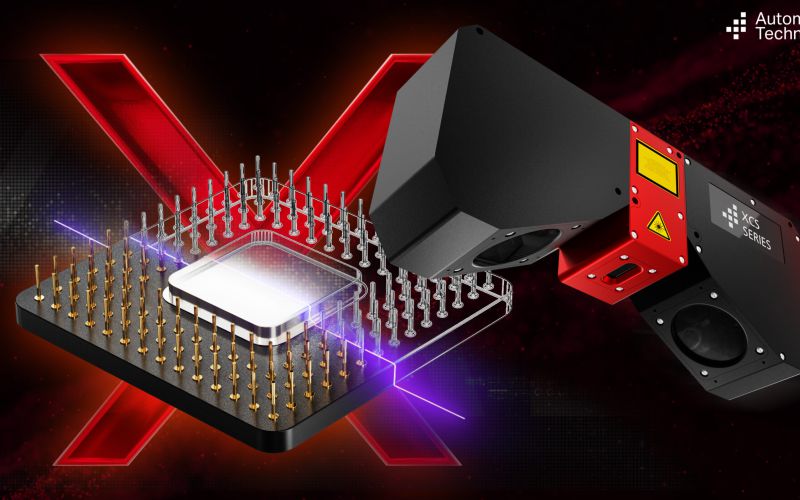
AT – Automation Technology sets new standards in application development with modular 3D compact sensors

Applicable across industries, individually configurable, effectively process-optimizing: How versatile and variable the modular 3D compact sensors, MCS for short, from AT – Automation Technology are, is shown by the latest success story of AT’s application history. Developed as a flexibly adaptable 3D sensor, the MCS impresses not only with its modular concept, but also with its extremely high precision and speed. With a resolution of 4,096 measuring points and a profile speed of 200 kHz, it is currently the world’s most powerful sensor in the 3D sector. Due to its modularity and convincing technology, the MCS can be used in any industrial sector for reliable 3D scanning.
[vc_column width=”2/3″]
One company that is already benefiting greatly from the advantages of AT MCS is a European food branding company. This company has set itself the task of labeling food directly on the peel via laser marking in order to produce less plastic and packaging in the future, but to convince with more sustainability and environmental friendliness. AT – Automation Technology supplied modular 3D compact sensors for this application, which determine the position of the fruit and vegetable products on the conveyor belt so that the laser beam can be optimally positioned for the food branding.[vc_column width=”1/3″][sc_image position=”centered” disable_lightbox=”1″ src=”/8553″][vc_column width=”2/3″]
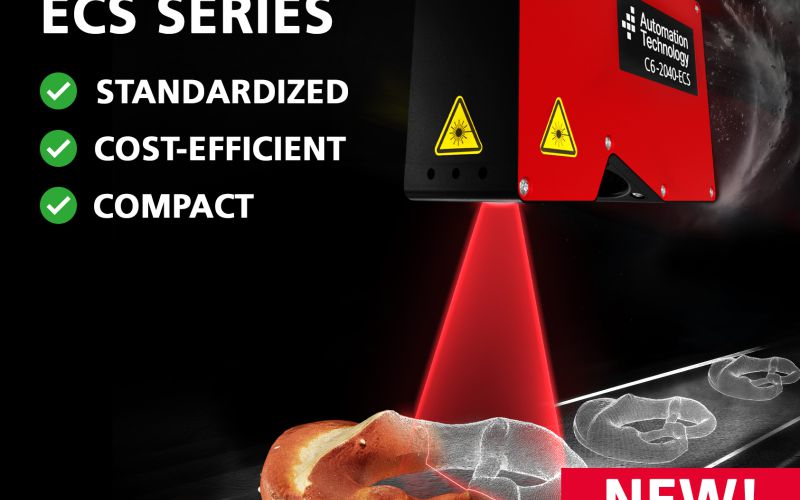
The AT MCS is used with similar efficiency by another European machine manufacturer for the baked goods industry. They were looking for a solution for automated counting and volume calculation of baked goods in order to not only significantly optimize the production process, but also to increase quality control at the same time. To meet this challenge, two MCS sensors were installed per line at an angle of 40 degrees inclination to the conveyor belt. Using the so-called V-setup method, the sensors completely capture the round profile shape of the baked goods at a scanning speed of one meter per second. The 3D data is evaluated online.[vc_column width=”1/3″][sc_image position=”centered” disable_lightbox=”1″ src=”/8547″][vc_column width=”2/3″]
In the application for an American manufacturer of testing machines for the beverage industry, AT’s task was to develop a 3D sensor with which both a surface inspection of the can and a geometry and pressure check are possible – and at very high speed. Before the cans go on sale, they are subjected to a final quality check in which around 25 to 30 cans per second are scanned on an assembly line. If our 3D sensors detect that the curvature of the can surface deviates from the norm due to incorrect filling pressure, for example, the can is immediately rejected.[vc_column width=”1/3″][sc_image position=”centered” disable_lightbox=”1″ src=”/8551″][vc_column width=”2/3″]
Removing defective products during the production process is also a priority issue for an Asian customer of AT – Automation Technology, which is one of the world’s largest manufacturers of high-quality OLED displays for the entertainment and communications industry. The demand to produce displays with absolutely flawless surfaces is correspondingly high. With the help of a large number of AT 3D compact sensors, which have a resolution of 74μm in X and 3.5μm in Z, 3D scans of the OLED displays are created in less than a second.[vc_column width=”1/3″][sc_image position=”centered” disable_lightbox=”1″ src=”/8549″][vc_column width=”2/3″]
Furthermore, the modular 3D compact sensor from AT – Automation Technology is capable of scanning multilayered structures, as demonstrated by the application for the safe production of rechargeable batteries. The battery structure is onion-like, consisting of several cylinders of different thicknesses, which are arranged inside each other in positive and negative electrode layers as well as separators. To avoid short circuits, it is crucial that the cylindrical electrode layers do not touch each other. Thanks to the MCS’s high resolution of 4,096 measuring points, it was possible to offer the Asian battery manufacturer a 3D scan of the individual cylindrical layers in the micrometer range. Thus, the production is inspected in great detail and in case of a defect, an error signal is triggered immediately.[vc_column width=”1/3″][sc_image position=”centered” disable_lightbox=”1″ src=”/8545″]


