/ Videos / First Steps – How to connect a 3D sensor & the first scan

Sie sehen gerade einen Platzhalterinhalt von Vimeo. Um auf den eigentlichen Inhalt zuzugreifen, klicken Sie auf die Schaltfläche unten. Bitte beachten Sie, dass dabei Daten an Drittanbieter weitergegeben werden.
Mehr InformationenFirst Steps – How to connect a 3D sensor & the first scan
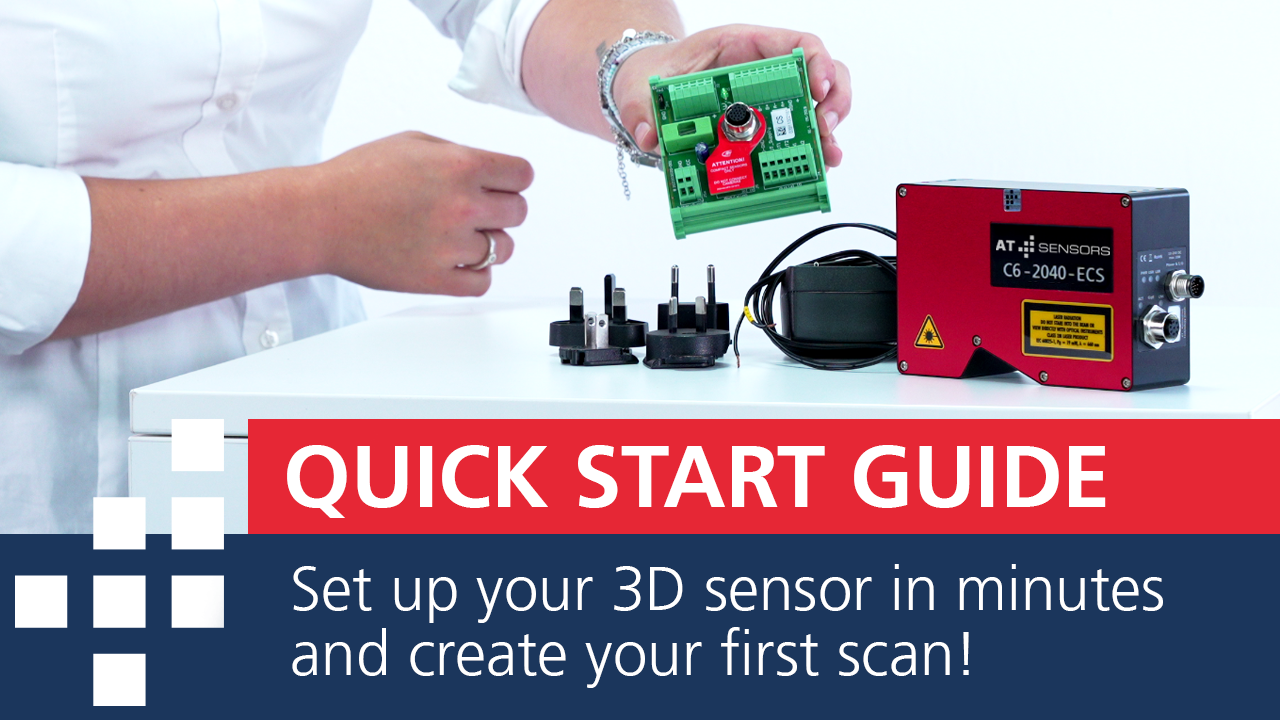
This guide provides a quick setup your individual 3D sensor from AT Sensors, walking you through the process from unboxing to your first 3D scan.
- Safety First: Read all safety instructions, especially those regarding laser safety regulations.
- Unbox your 3D sensor: Check the package contents to ensure you have the sensor, cables, I/O panel, and power supply. Use the QR codes on your support card for quick access to resources.
- Connect Everything: Connect the power supply to the I/O panel, then connect the power and GigE Ethernet cables to the sensor. The sensor’s LEDs will light up once it’s powered on.
- Install the AT SolutionPackage: Download and install the latest software package from the AT Sensors website. This includes essential tools like cxDiscover and MetrologyExplorer.
- Configure Network Settings: Open cxDiscover to assign a persistent IP address to your 3D sensor.
- Configure & Capture: Use MetrologyExplorer to set up the sensor and capture your first 3D image.
- First Scan: Click „capture“ and move an object through the sensor’s field of view to complete your first scan.
Bereich
Videotyp
Produkt
Get the most out of your production!
🇺🇸 North America
🇩🇪 Worldwide